

This was a tutorial/workflow I made to help out a student game in early 2024, wich i used to make these characters.

Base meshes are great, I like to start with them when I make something that’s humanoid because it saves time, but that’s because I know how to make one. Any skip you take should be a tool, and even if you didn’t have that tool, you should still be able to make the character. So if you don’t know how to build a character, make one from scratch as many times as it takes to get it right (unless you don’t really care about it/are not paid enough to care, then it’s free game).
If you want to become a pro at this, you need to understand every step of the process, because if you don’t, you might end up unknowingly fucking up something and creating problems for yourself and others.
But if this is a hobby level, you are looking to work fast, so these aren’t your worries as much.
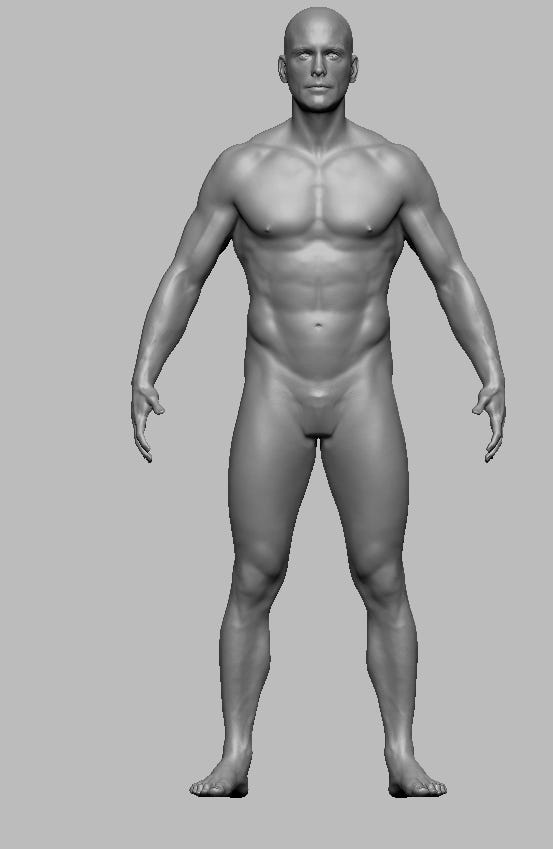
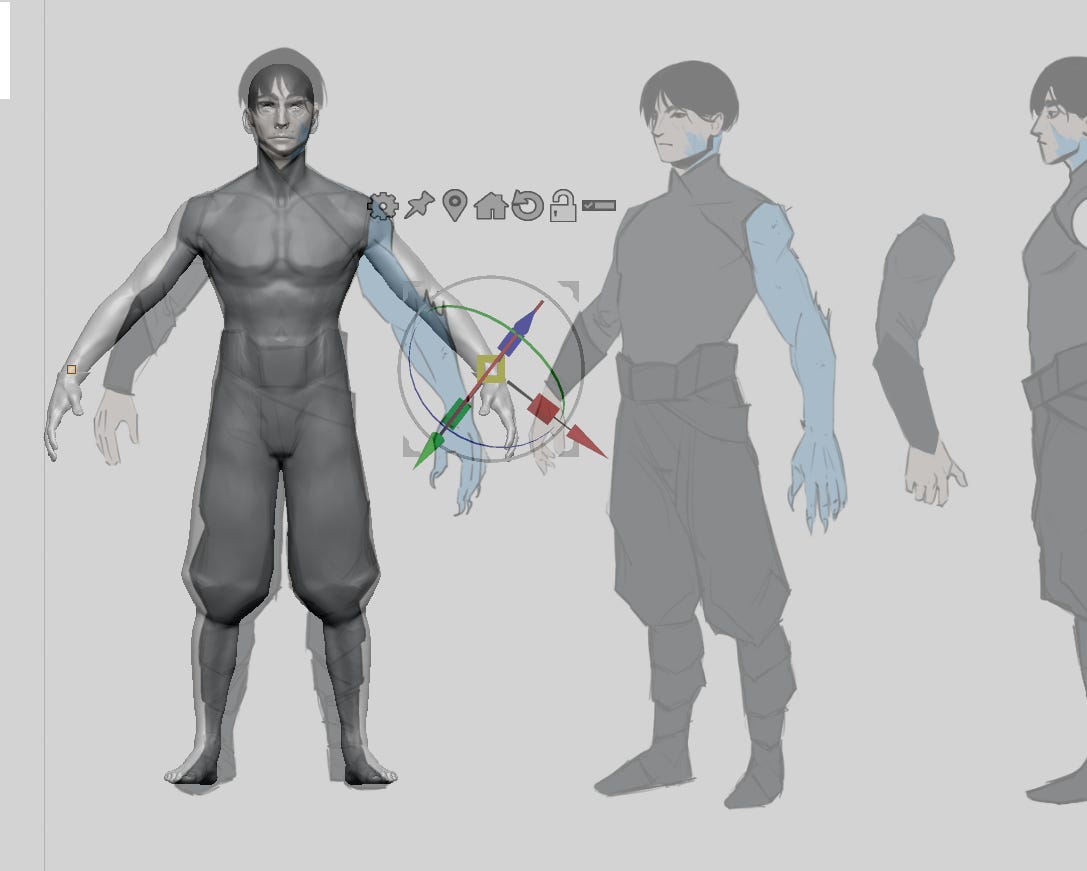
When you use a base model, the main thing you want to do is to make it fit the proportions of your character somewhat, so that the overall vibe is similar. I did it with a high poly and in Zbrush here, but this can be done in absolutely any software with any level of polygons.
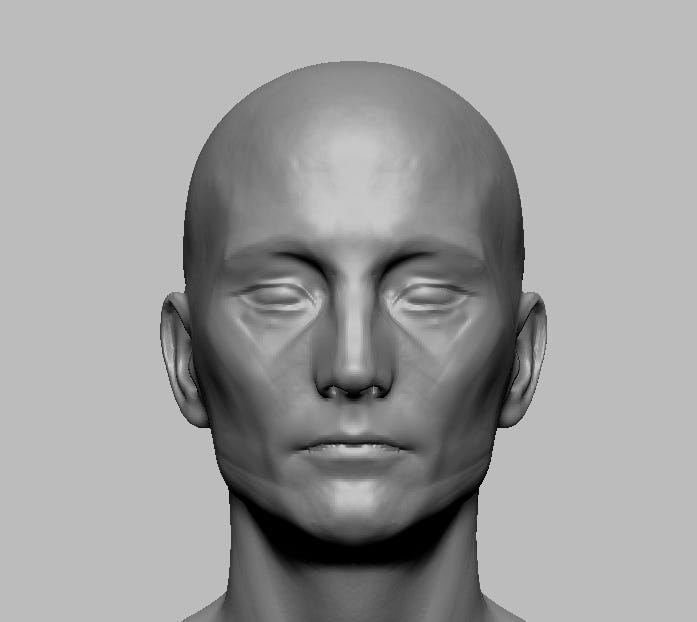
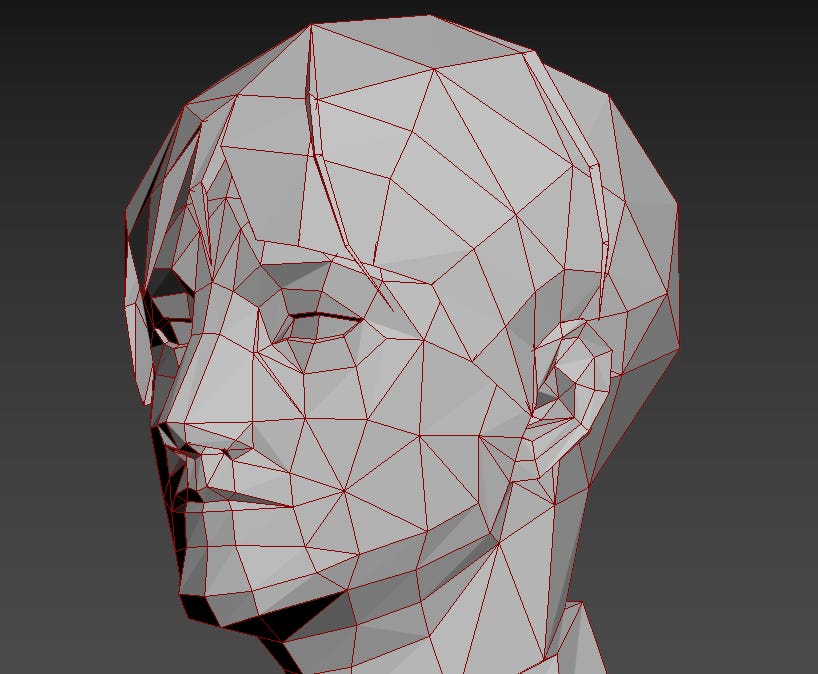
Same thing for the face, if you start with a base mesh, you are going to need to pretty heavily change up the proportions for it to fit the concept.
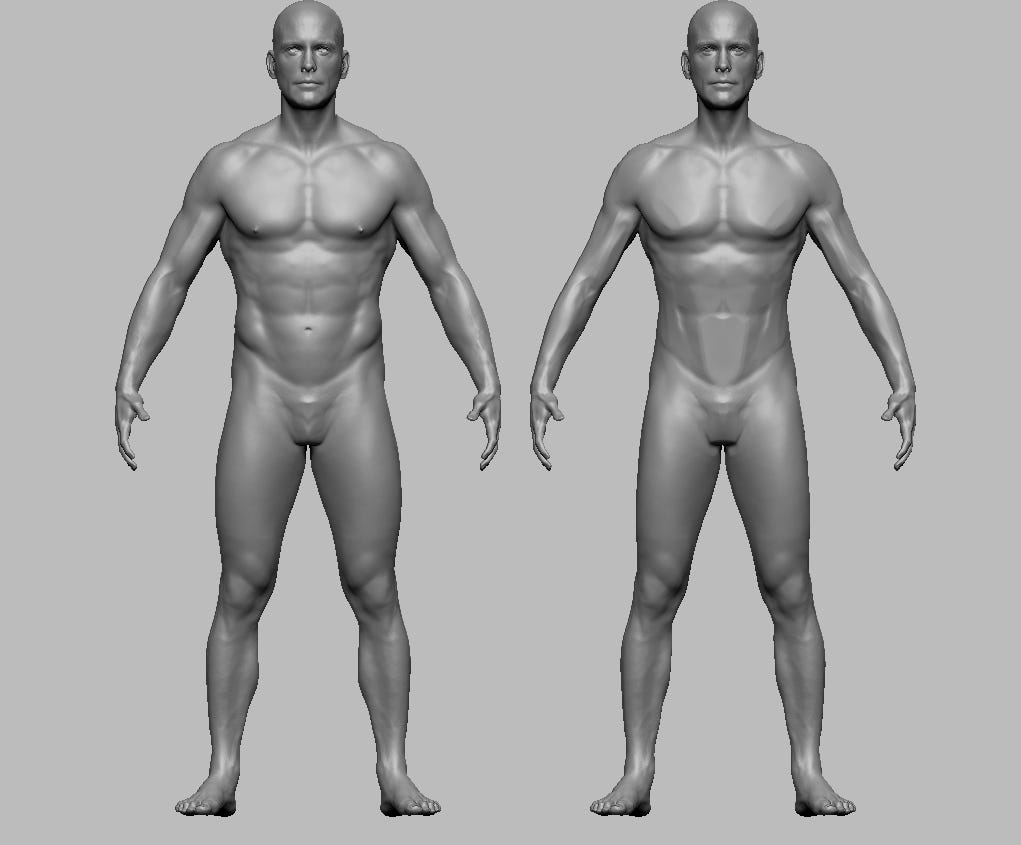
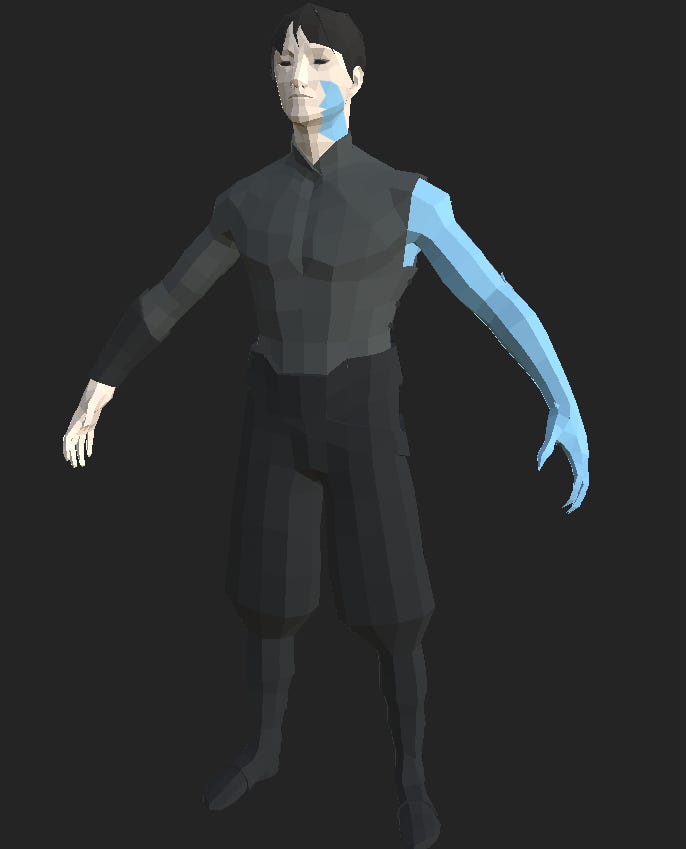
You also need to think about how well it’s going to animate pretty early on. With a muscular character like this, it might be a good idea to separate the arms slightly because of possible rigging/animation difficulties.
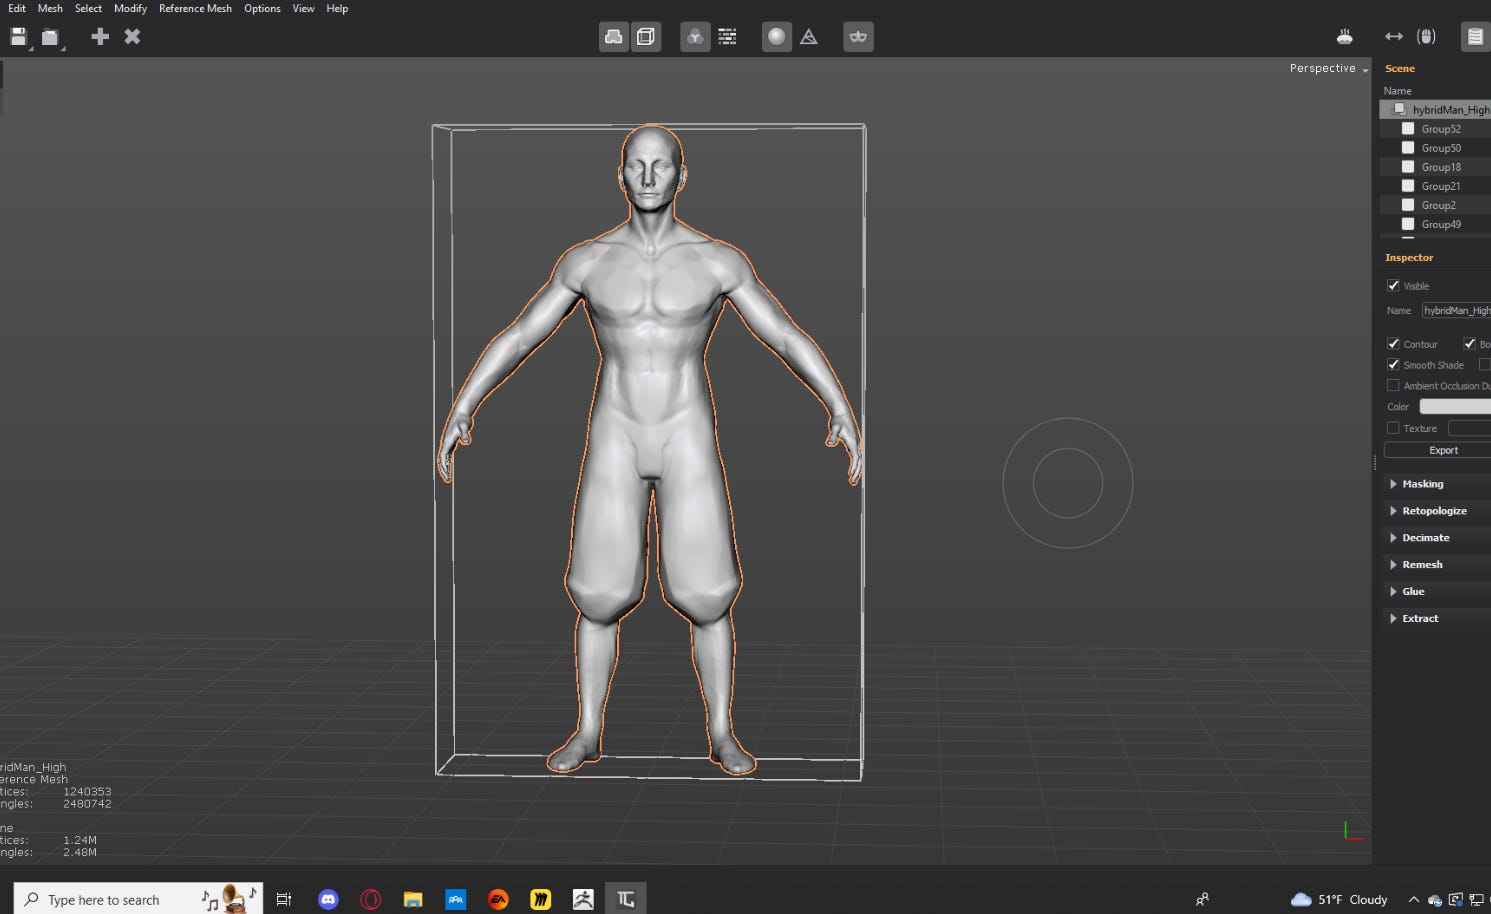
Everything I’ve talked about till now, I’ve done in Zbrush using a high poly, but that’s not the important part. It’s the logic behind it that’s important. All this can be applied using low polys meshes, in Blender, 3dsmax, Maya, Nomad
So at this point, the character anatomy suits the project.
Now I am going to look into adding the details, but I’m also going to think of how I’m going to add them.
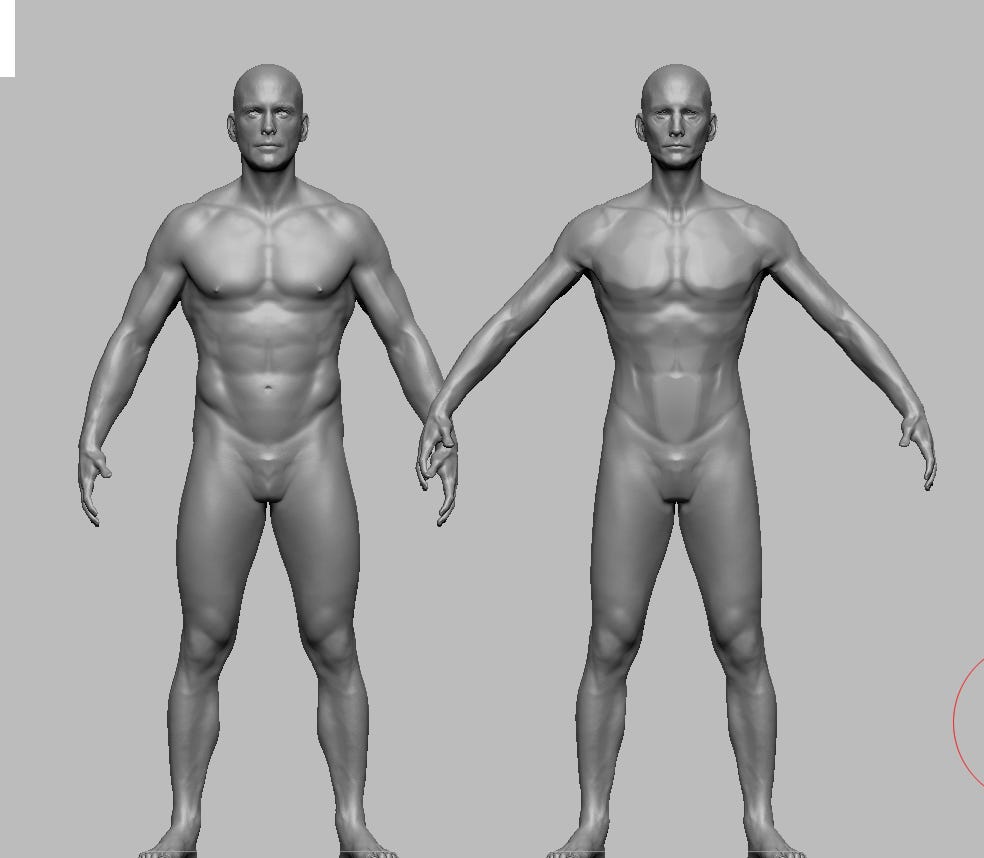
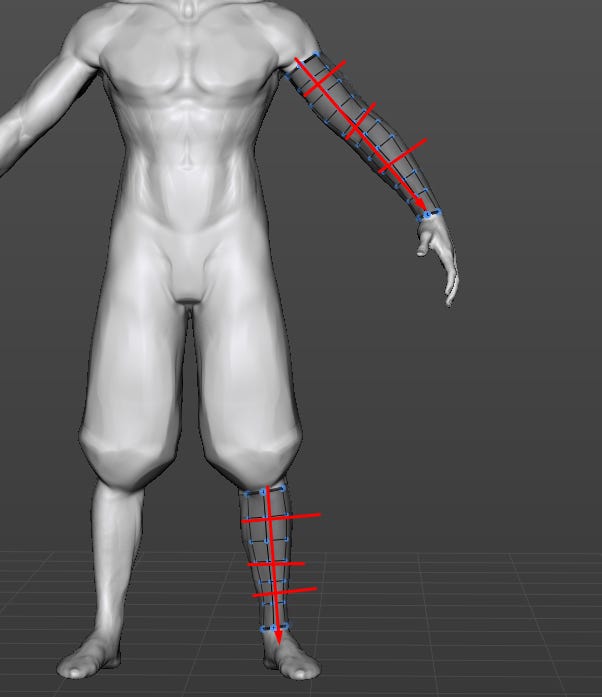
Everything green I’m going to make in high in Zbrush, then everything that is red is going to be made after I’ve made the main body of the character in low poly.
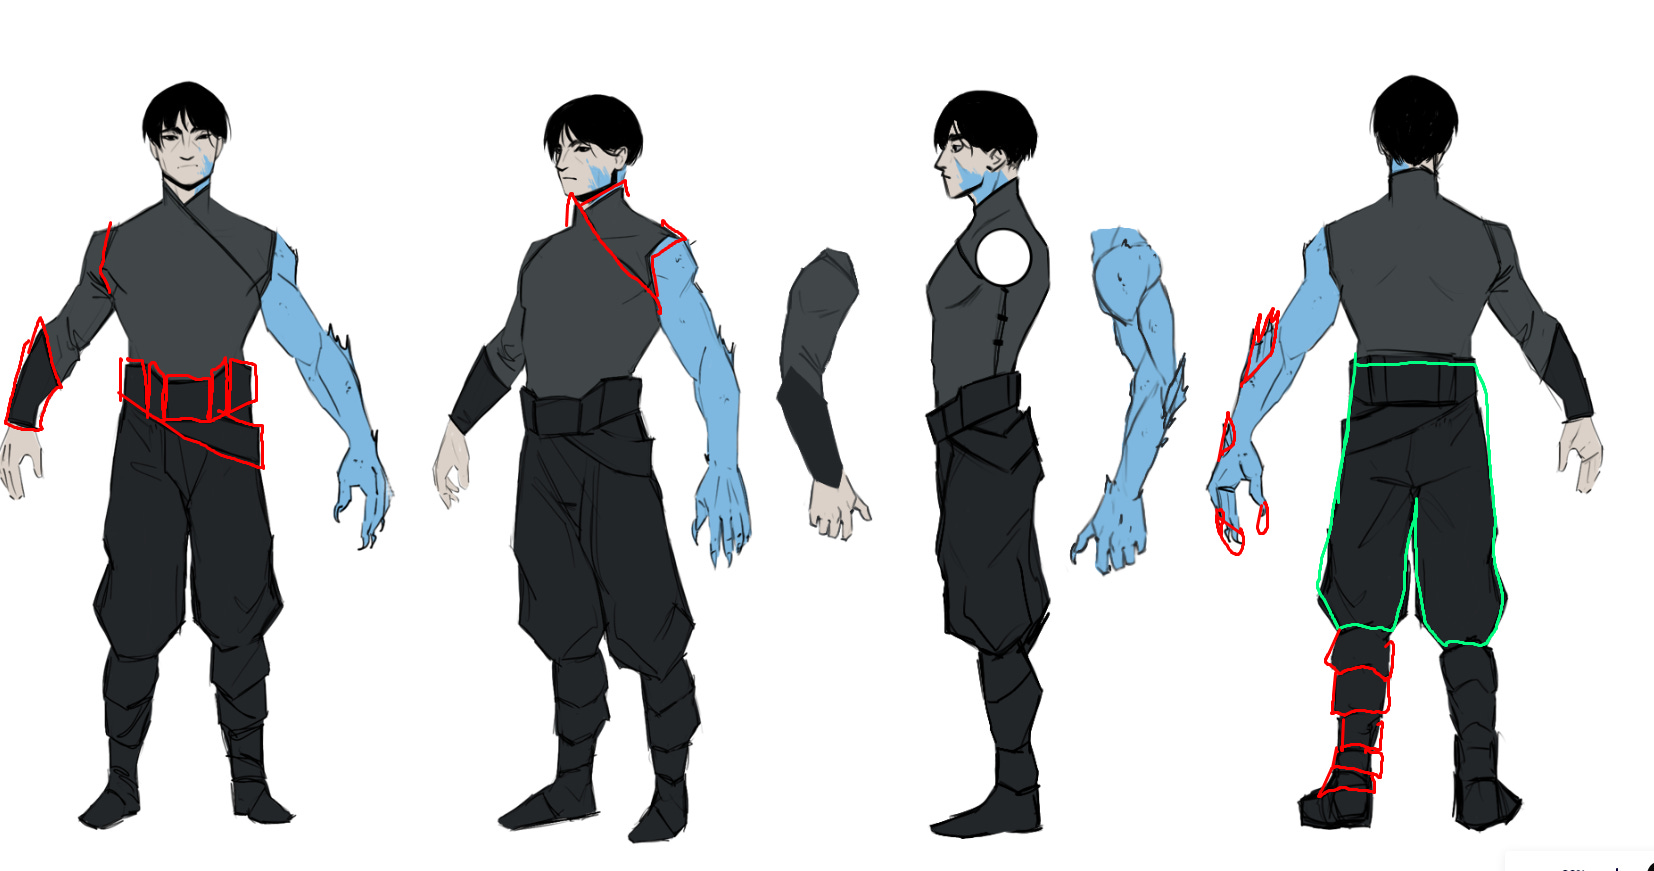
The green detail is the silhouette, therefore I’m going to need it to topologies the character correctly, but every red detail is going to be sharp and used to add detail to the overall silhouette.
Therefore, it will be made after the first silhouette works.
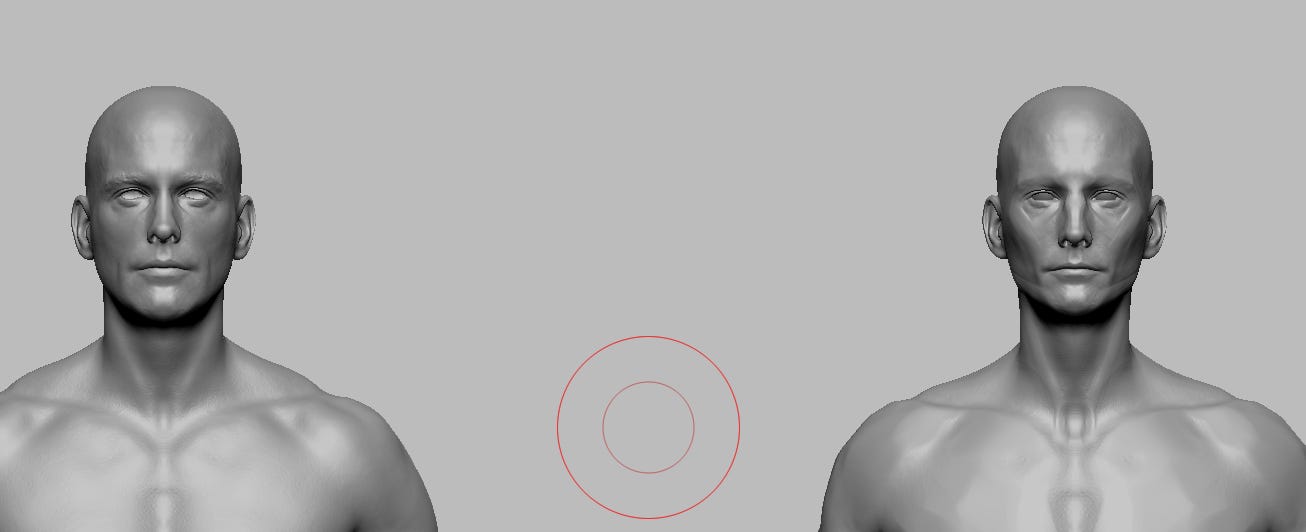
At this point, I also overlay the character and concept a lot, so I can match the concept as much as possible.
At this point is also where I try to fit the face to the concept the most, and where I try to get the main features to watch most.
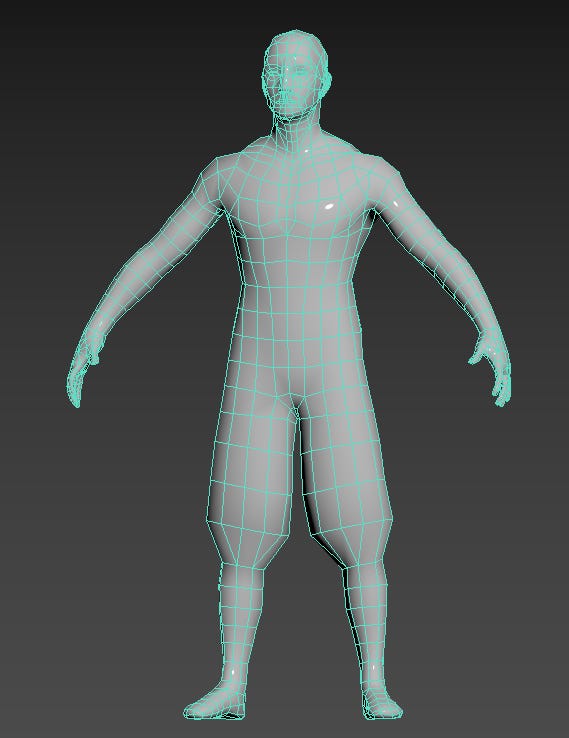
So at this point, you would like to have something that has the correct proportions, correct silhouette, and if you are working in low poly, the correct modeling.
Since I’m working in high, I’m now going to have to do the modeling via retopology tool.
To do this I use Topogun, but you could use any retopo tool such as blender, Maya, 3d coat, so on.
I do this because I’m GARBAGE at modeling.
So this way, since the surface is done, I can just focus on have good loops and easily edit the topology without destroying the surface under.
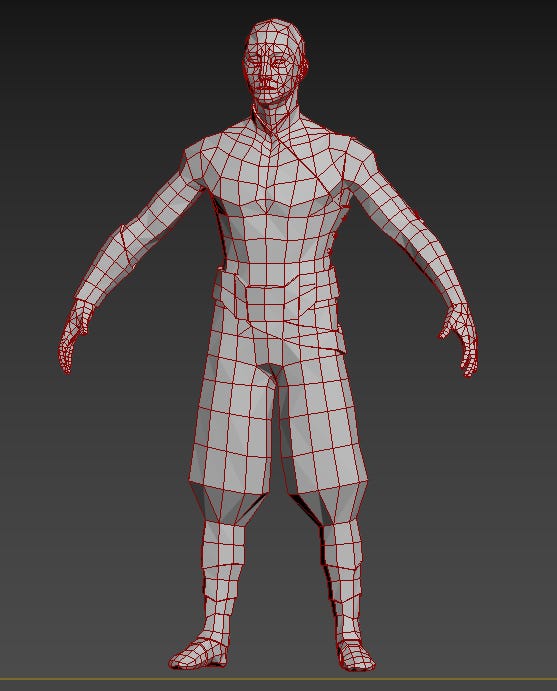
I start by setting up a clear idea of what level of detail I’m going for, here it’s low poly style, so 8 poly around the arm is good.
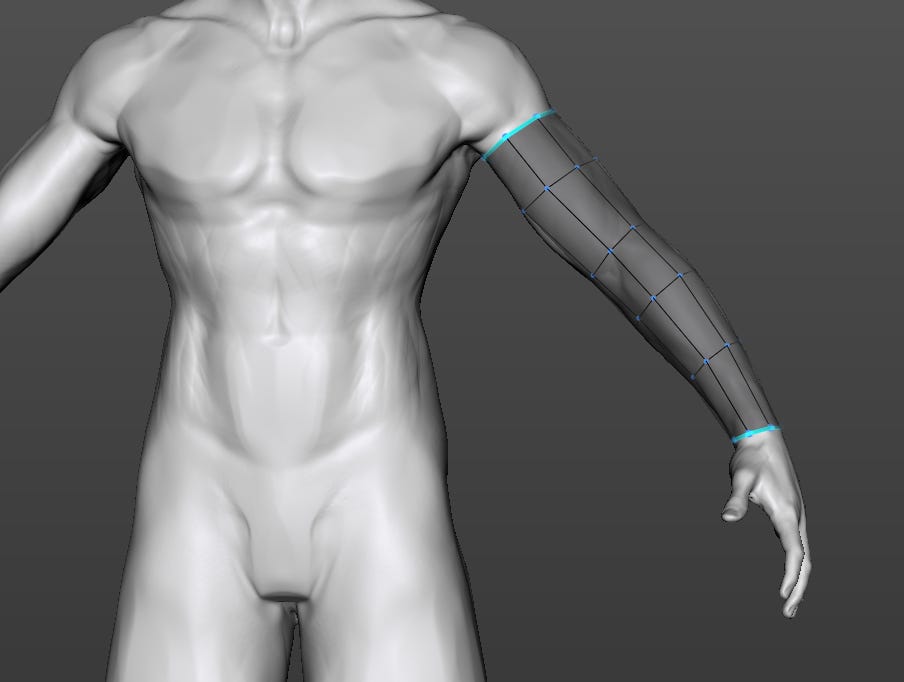
I will also need to be careful to not have insanely high poly count in some places and rally low in others.
The goal is for it to look like all squares are of the same size.
So then since the calf is identical in size, I also make it with 8 polys.
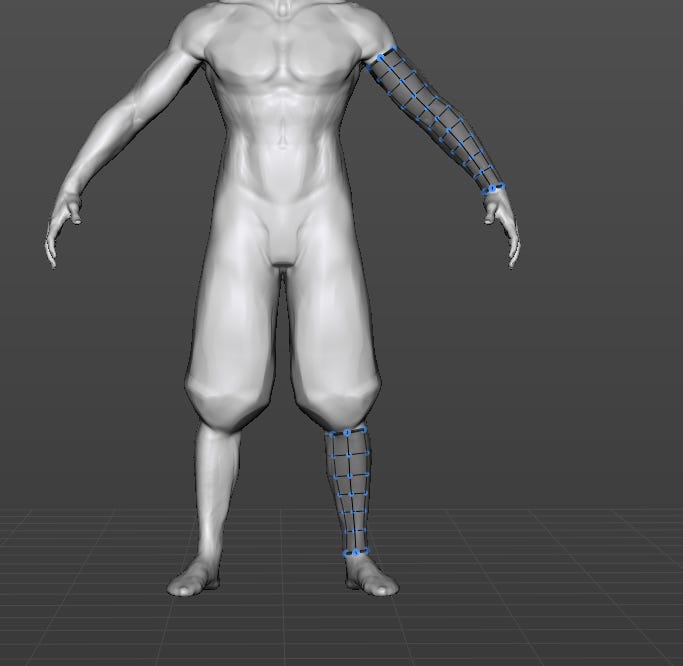
It’s also important to keep up with the flow of the body in these types of places.
So the edge flow follows the orientation.
And so that every quad is the closest possible to a square.
So at this point, the modeling is pretty much done, but since I didn’t model the character, some things might feel a little off in the low, so I’m going to need to reimport it into Zbrush and fix up some edges and shapes that were lost in the retopo.
So with a bunch of extrudes and such, you end up with this.
Just a bunch of extrudes, cuts, some target weld and shells.
A bunch of tiny detail either in the model or detached.
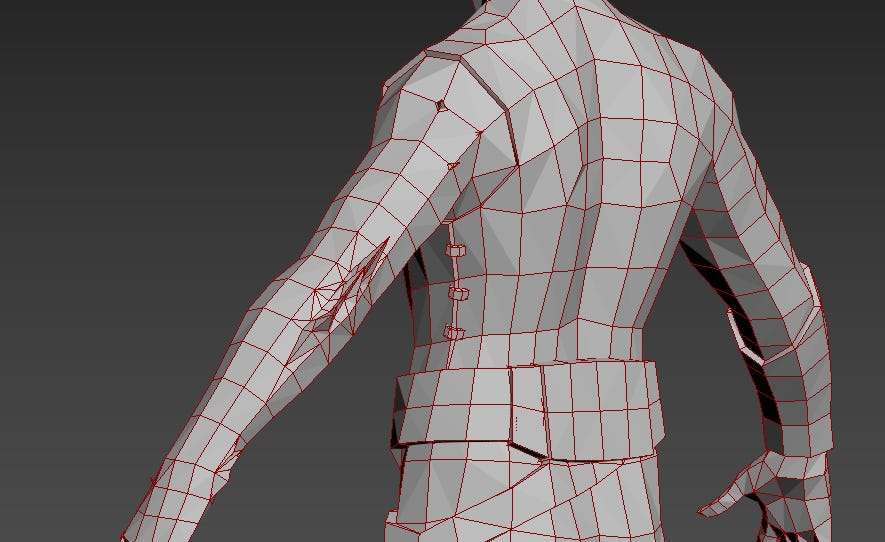
So at the end, this is what it looks like.

Test it in Mixamo to see if it works or not.
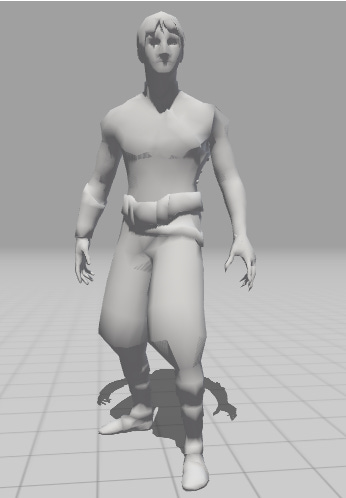
And with some textures, there it is.
This workflow was used to make Swamp Fell and Eclipse Breaker characters.


Here is the game i did this for. Its a super cute game that’s fun to play. Hope you liked this ^-^.

And Here is Eclipse breakers for those interested as well.